Friday, September 18, 2020

Ripe Cantaloupes

 My Hannah’s Choice F1’s are ready!  This is all new for me.  Heat loving melons were a bit of a luxury item for me with space limited in my old greenhouse but with the building of my bigger greenhouse a year and a half ago, it was a new option.

Years before I had an attempt at growing melons in the garden.  I got seed from West Coast Seeds that were specifically for our cooler summer climate but got the usual two and a half muskmelons.  Knowing when they were ripe was a difficulty I remember – one over ripe, one bug eaten and one tastelessly immature.  Not too successful. 

Last year was my first serious try at melons inside the greenhouse.  It wasn’t well planned out -- I  just grabbed two varieties of something off the seed rack.  Hopefully they’d be good for here since they came from Pacific North West Seeds.  And being in the greenhouse it shouldn’t really matter that much.

All went well with a few melons successfully catching and getting to half size when whoosh – all the foliage died.  It appeared my watering with my wand onto the foliage, possibly too late in the day, was enough for the diseases to take over fast. 

This year I planned better.  Using Johnny’s Selected Seeds I chose not Sarah’s Choice F1 --- “Our most flavorful cantaloupe.”  but instead settled for Hannah’s Choice F1 --- “Strong disease resistance.”  I started the seeds indoors on April 15th and transplanted into the greenhouse May 24th – a bit late but okay.

For watering I asked my son TOG (the organic grower) to set me up with some bits of drip irrigation that he uses in his greenhouses and hoop houses.  He was most helpful, knowing all the ins and outs of garden hose threads verses irrigation fittings, drip emitters, manifolds, plugs, end knots and the like.  The plan was to run three lines in parallel down one of the three beds in the greenhouse.  


Then cover the lines with landscape fabric to inhibit weeds and insulate the foliage from any excessive moisture.


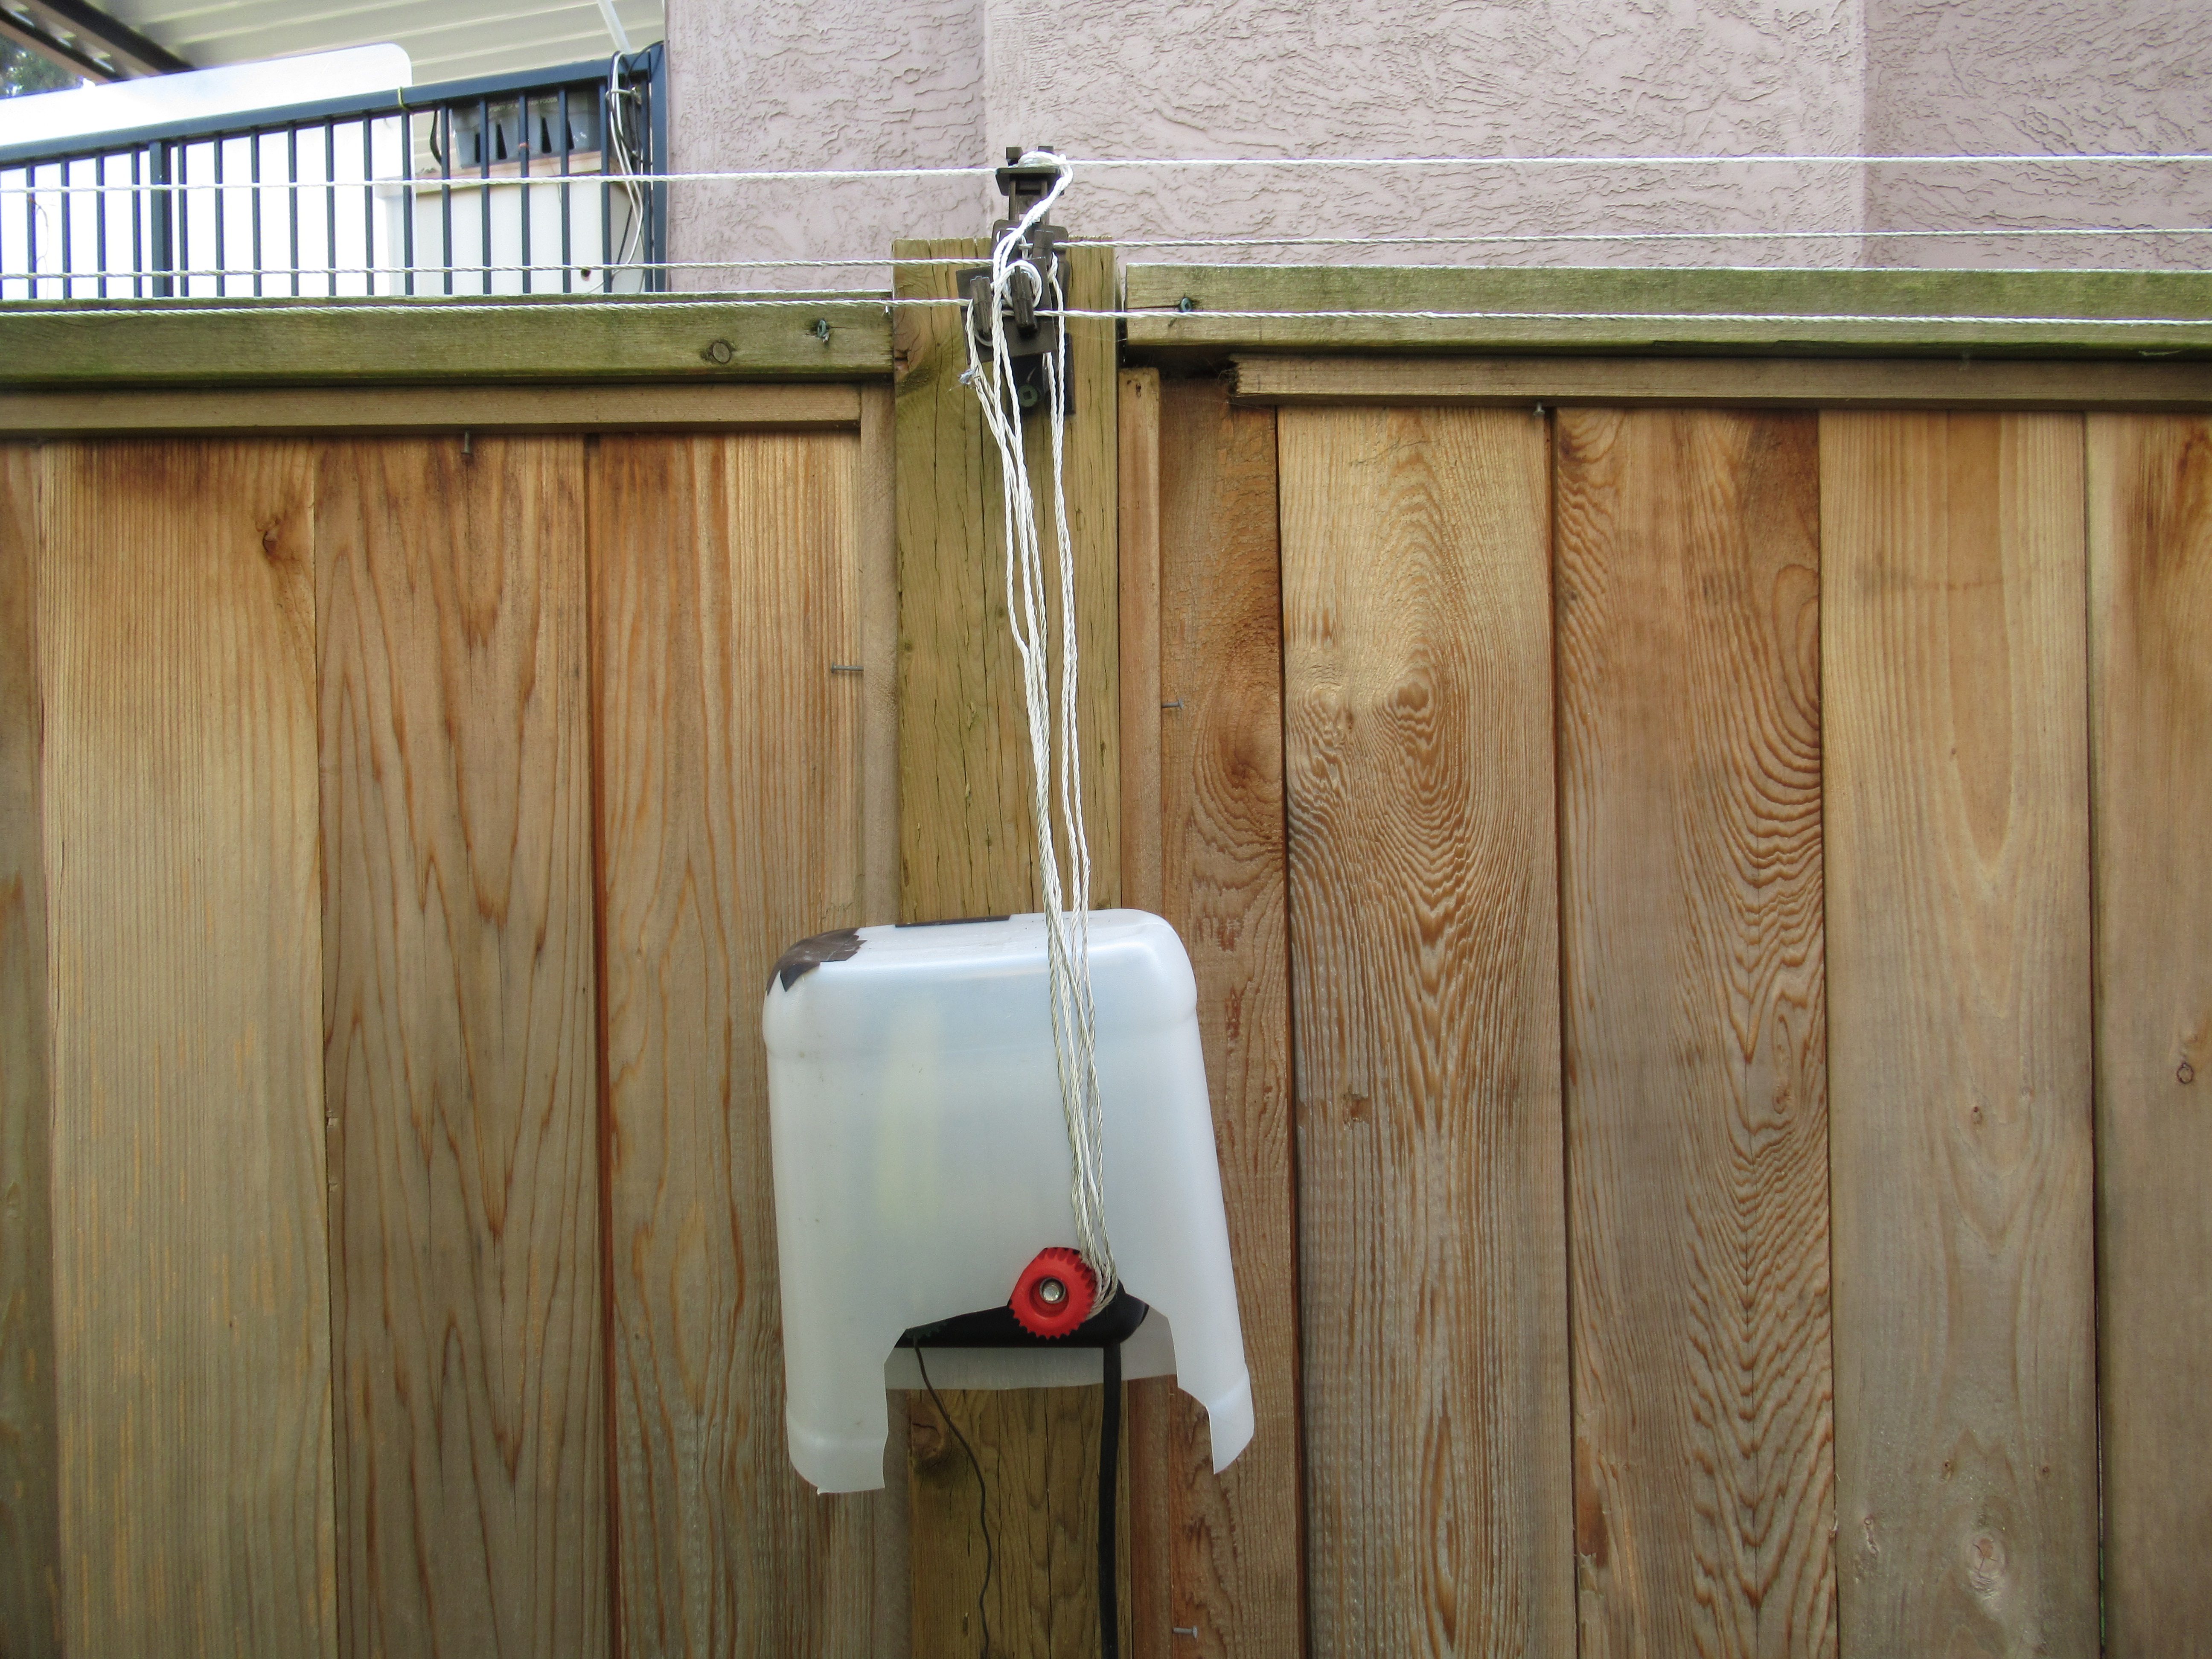
My goal was to not hook the drip lines up to the hose but to fill a tank (garbage can) on a stand and let it seep into the bed slowly.  


TOG also solved my dilemma of engineering a ‘spigot’ coming out of the cylindrical tank.  It took a bit of trouble shooting with filling and emptying but it worked.  I watered / filled the garbage can usually once a day and it drained in four or five hours.  My sandy soil could have used a fourth line for better coverage – hopefully next year.

The two plants grew well and I let the delicate vines go anywhere within their allotted 20 square feet.  


The flowers weren’t catching right away but I waited patiently and eventually they started to catch here and there.  By mid-July ventilation control in the greenhouse trumps temperature control since the tomatoes can get blight with damp foliage.  Thus leaving the doors partly open overnight for ventilation probably helped the cantaloupes as well.

I counted seven then eight melons and lately found a ninth hidden in a corner.  A few weeks ago the foliage started to die and now everything is mostly dead.  But would they ripen?  And how would I know when they were ripe?


A week ago, TOG came by and looked at the hard things – nicely netted but green in the background underneath the netting.  He said to wait and use my nose.  So I did.  On my hands and knees with my butt in the air and my face in the dead foliage.  After five days things started to smell and change colour!  The green was turning a nice champagne beige yellow.  I picked one.  It was almost ripe – not totally yellow all over.  A day later the greenhouse was full of the sweet smell of cantaloupe and I found the culprit.  He was very tasty and sweet.  Now I’ve picked the third one.  I think we’ll be able to keep up.


So far they average two pounds each, smaller than advertised.  I’ll definitely have some finished, aged compost going for next year.  

My Lovely Wife figures we won’t need as many Roma paste tomatoes next year so it looks like I’ll have room to try some watermelons too.

Happy Gardening.


Sunday, September 13, 2020

Raccoon Wars


Raccoons have been a problem for me for years.  With 5 grape vines in the backyard and a bit of corn growing I have exactly what they want.  They also climb up my 30 year old Wisteria in the front yard and get up onto the front roof over the garage and sit and scheisse (and even copulate) up there, protected from the rain under the roof overhang.  


Their scat is full of parasitic worms and eggs and can eventually erode the integrity of the shingles.  In the suburbs there are no other animals higher up in the food chain so there’s nothing keeping the raccoon population in check except food supply and they can get rather aggressive.

My neighbour lady once knocked on my door looking for some help in her front yard.  She showed me the remains of a cat.  The night before it had been cornered / surrounded by raccoons and half eaten.  I told her not to worry, I’d look after it.  I wished I’d taken a picture (yuk) because in a week there were posters on the lamppost about a missing cat.  I called the number and a dear, grieving couple from a block away came by and kept showing me pictures of their dear Tom.  “Was that the one?”  I was mostly sure it was.  Maybe it was best I didn’t have a picture.

Five years ago I bought an electric fence kit plus 500 feet of wire.  My back yard is surrounded by a six foot high board fence and I installed 2 inch insulators and a braided wire on the inside edge of the top fence rail all the way around the 320 foot perimeter.  


Soon I found that wasn’t quite stopping the persistent beasts and I needed a second wire so I bought 5 inch insulators and ran another line parallel to the first.  It sort of worked.  But when the arbor had almost ripe grapes littering the ground, I set up my large live trap and left half a cob of corn outside it and a half inside.  The next morning the old scourge had looked at the trap and in his anger knocked over all five watering cans including the two up on the deck.  Another time we left one bed sheet on the washline overnight and he tore a big hole in it just for spite.

Often I’d find digging marks and a gap under the old gate or the older part of the fence and I’d need to shore up that spot or place a brick and then another brick under the gate.  Every time they got through there’d be carnage.

Last year the two wires just weren’t enough.  They ate all my corn except for one cob and had taken random bites out of my squashes.  I thought perhaps I hadn’t plugged in my fence early enough.  Maybe if they started avoiding my house earlier in the season they wouldn’t come by later.  This year I plugged it in a month earlier but eventually the grapes started raining down again and one early corn plant was knocked over and sampled.  

So I set up my old standby.  I built a quick 4 foot high frame out of stakes and bean poles all around the corn bed and draped it with ample pieces of plastic bird netting.  


The secret is to leave a good two feet of netting draped over the ground all around the fence.  They don’t like to get their toes tangled in the loose netting.  The netting on the ground must be raised occasionally to keep any grass from growing through it and nullifying the tangling effect.  That worked.  We’ve now harvested most of our small stand of corn and the squash are safe.

But the grapes were still raining down from the arbor.  So I bought more insulators and wire and ran a third wire.  This time along the top of the board fence.  


That almost worked.  Soon, after I chased one out of the arbor and into the espaliered peach tree next to the gate, I discovered how he’d been getting past the wires.  He’d been reaching the peach support posts from the taller gate post and getting over the wires there.  I beefed up that spot with extra wires and it seems to be holding them at bay.


I’ve also made 3 foot by 5 foot frames with old one inch chicken wire stapled to it and laid the two frames on the roof at either end of the garage overhang.  That should discourage them from getting up onto the roof to continue …. making more raccoons.

Happy Gardening.


Saturday, September 5, 2020

Fall Spinach and Lettuce


I finally got the old Sugar Ann Pea vines pulled out.  


I was delaying that to ripen and collect some pea seed. It’s not the happiest looking seed but I’ll keep it as a backup for my remaining store-bought stock. 


The old pea bed is where the Fall Spinach and Lettuce go.  Once the Tomatoes, Peppers, Cucumbers and Cantaloupe are finished in the greenhouse, the greenhouse will be rolled south one set of beds for next year’s rotation. But it will also cover this new Spinach and Lettuce as well as the two old Kale plants.  This covering will help extend the Lettuce and help overwinter the Spinach and Kale for an early Spring crop.  They will be done by the time the greenhouse needs to be filled with its summer crops.


The two are Encore Lettuce Mix from Johnny’s Seeds and Olympia Spinach from Pacific North West Seed.  I started them in pots on August 1st. placed in the shade, out of the hot sun, until the first sprouts started to show.  I like the transplants a bit pot bound -- where the root ball just holds together -- for easier transplanting and less transplanting shock.  The lettuces were at that best stage but the spinach were a bit too pot bound.  That may be why their older leaves had yellowed -- possible water shortage on the too mature plants.  To remedy that next year I can either: 1) stagger seeding, 2) stagger transplanting, or 3) use slightly bigger pots for the spinach.

I sprinkled on 1 lb of Alfalfa Meal over the 18 square foot area and stirred / chopped it in with my Grub Hoe.  Then raked it flat and smooth.  Using my Row Marker set at 8 inch spacings I marked down and across the bed for 8 inch square centres.  I did have to dodge the single bean pole with my seed beans still ripening.

Before transplanting I sat the pots in standing water on cookie sheets to give them a good drink and to make sure all the root balls had no dry spots.  Transplanting was simple and I watered them in with a 2 gallon watering can of water mixed with fish fertilizer.  


(boy the shadows are getting long, it's only early afternoon)

The soil was a bit too dry with no watering for pea seed ripening so I water-wanded the bed as well.  I’m hoping those yellow spinach leaves won’t be too much of a deterrent for strong new growth before the frost comes in possibly 6 or 8 weeks – actually, hopefully later inside the greenhouse.

Happy Gardening.

Thursday, September 3, 2020

A Favourite Tool: My Weeding Knife

 This might be my most useful gardening tool.  It’s at least in the top five.  It’s excellent for weeds with tap roots like dock and dandelions and also great for uprooting buttercups (and killing slugs).  I use it by slicing sideways into the soil attacking the weed’s roots an inch below the surface.  

The search for the right knife started many years ago when I lost my short handled dandelion weeder.  It's somewhere in the garden.  Actually, the handle had been too long, and there was no way to hold it in a pocket or sheath.

I found a high-end restaurant butter serving knife.  (#1)  You know, the one that goes with the butter dish where you only use it to move butter from the butter dish to your plate.  It had a smooth, fat, chrome, light weight handle.  I ground a notch into the tip like my old weeder.  But it was too short.  

Next, I used the same restaurant’s dinner knife.  (#2)  (No, I didn’t steal it. It was from the Pacific Starlight Dinner Train that ran from North Vancouver to Porteau and back, and it had fallen between the tracks.  There’s even a possibility that it had been used to unclog a coach’s toilet and then discarded for me to pick it up.)  It was longer than the previous butter knife and I filed and sharpened notches down the blade on one side. 


This one worked well enough; its round, smooth handle didn’t put undue wear on my hand.  But it got dull too soon – it wouldn’t take or hold a sharp edge and it eventually cut a hole in my back pocket.

My next knife was like the previous two, (I found it in a second-hand store) nice rounded handle and all, but this one was more of a steak knife.  (#3)  Nice pointed end with a ready-made serrated edge.  That one had to go in a sheath.  But it too wouldn’t hold an edge for long.

A few years ago, my son TOG issued me one of his serrated paring knives to attack some overgrown weeds that were almost decimating some of his beds.  (#4)  The weeds were too big to pull without damaging the vegetable plants so I was to saw thru the big weeds at ground level to slow the competition, let some sun shine through and let the established vegetables size up.  

Even though the knife’s red plastic handle was small, it cut through the thick weed stems like butter and didn’t tire my hand.  And it stayed sharp for a good long while and sharpened well.  It was a Swiss made Victorinox.  That’s why the steel was so good.

So I was on to something -- find a serrated steak knife made from good quality steel.  I watched the second-hand stores for a Japanese or European steak knife and finally found the perfect one.  (#5)  I had it for a couple of years, sharpening it with a round chainsaw file and small hone.  It worked great.  Until I lost it.  It’s somewhere in the garden.

Recently I found some more.  (#6)   Seven of them for $3.50 at the MCC store.  The blade is stainless like all knives these days (not always a good thing) and made in Taiwan. (which today is way better than that communist, cheap junk supplier -- china).  It holds an edge well and doesn’t bend sideways easily.  I carry this Weeding Knife on my belt in a nylon sheath most days that I’m in the garden.

Yesterday I misplaced my first of the seven.  But then I found it. (in the garden) I’m considering painting its handle bright yellow.

Happy Gardening.